
Arduino Nano 33 IoT : Troubleshooting guide
IoT Arduino Nano 33 - Connecting to Wifi as IoT device guide
Last modified by Audrey Burch on March 10, 2022
Introduction
The Arduino Nano 33 IoT microcontroller is an IoT microcontroller that pairs with the Arduino IoT Cloud.
You can have one board on the Arduino IoT cloud with the free account, but you can pay for the pro license and connect multiple Arduino IoT boards to the same Arduino cloud account.
Please note: The term board and microcontroller are used interchangeably in this tutorial.
Testing the board is working correctly.
- Log into https://create.arduino.cc.
- Navigate to the Web Editor by clicking on the Web Editor Icon

- Click on the Examples tab on the top right hand side under Editor text to find the Blink.ino sketch.
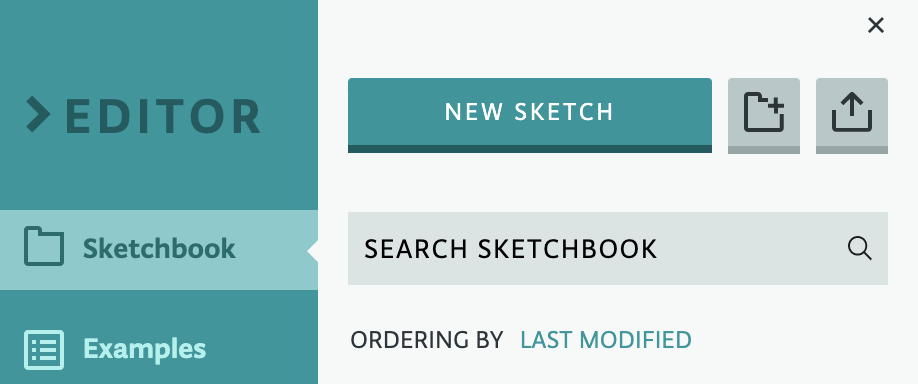
- In the Search bar for the examples, type blink to find in 01.BASICS the Blink.ino sketch and open it

- Click on the downward facing arrow where the port is available for the Arduino NANO 33 IoT, and select the port that has the directory address of /dev/cu.usbmodem######

- You will now see it is selected like this in the port display:
- You can now click on the Upload button ( the arrow pointing right) to upload this sketch onto your microcontroller.


- Take a look at your microcontroller, and near the USB port that connects to the board, do you see a blinking LED? If you see this LED blinking, you can confirm that the microcontroller is working properly!
- If you’re not sure, you should also see this message in your console window at the bottom of the screen:

Please note: This is not a connection to the IoT Cloud just yet, but you have confirmed that the board can run code and have the code uploaded to it correctly.
Troubleshooting: If the LED did not blink when it uploaded, Check:
- the USB cable is a communication style USB cable (NOT a charge only cable)
- check the connection to the computer via the USB cable is secure, and that the cable is not loose in the ports ( half plugged in, broken cable etc)
- the port address is set correctly. You can check in Device Manager what port the Arduino is in, under the USB category. It is highly advised not to modify these ports at the Device Manager level but use this to view the port for troubleshooting
- the code is the correct code to blink an LED. You can find a link to the original Blink.ino file here: https://www.arduino.cc/en/Tutorial/BuiltInExamples/Blink
- the microcontroller may need to be returned to the manufacturer if it was a new board.
- The microcontroller experienced an electrical signal that was greater than the safe operational range ( 3.5V maximum input voltage range into the pins in the case of the Arduino Nano 33 IoT)
Navigate to Devices in the IoT Cloud:
- Log into https://create.arduino.cc.
- Navigate to the IoT Cloud by clicking on the IoT Cloud Icon
Please Note: When you join the IoT Cloud online, your local computer will try to communicate with your Arduino Nano 33 IoT board. You will see a dialog box similar to this. Please click Yes or Ok to accept incoming network traffic: which will be your IoT Arduino board!

If you haven’t already signed in to the Arduino IoT Cloud, you will have to sign in with your account or you will have to ‘Create one’.

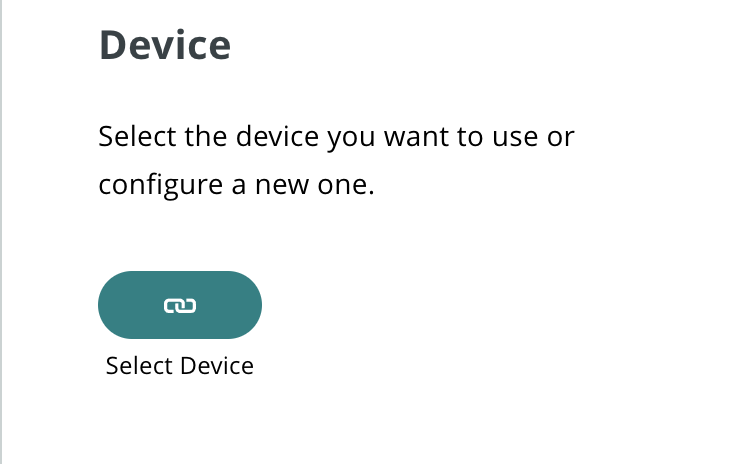
- Navigate to the Devices tab on top bar of the website, and if you have not already added a device, you will see this view:

4.) Click on Add Device, and delete an existing device if you see one is there.

5.) Click on ‘Set up an Arduino Device’
6.) You will see that the online Arduino software will try to connect to an Arduino device.
Please Note: Your board may not connect at this point. This is because a software agent needs to be installed and running on your local computer, the computer that you are using to connect to the Arduino IoT board that is running the web browser.
To connect to the ArduinoCreateAgent:
- If you get this message, click on the Download it again and open the file to install the ArduinoCreateAgent.
- If you have installed the ArduinoCreateAgent in the past, and you just need to run it, try searching for it in the File search of your computer.


- Click on the ArduinoCreateAgent icon to open it.
- If you get a dialog box popup that asks if you want the ArduinoCreateAgent to accept incoming network connections, click Yes, or Allow.

- You will now see, on your computer in the Taskbar, that a new icon, the Arduino Icon, appears! This means that you are ready to communicate with your IoT Arduino microcontroller. ( Icon farthest left in this example below)
- You should now see, when you return to the IoT Cloud, that the device is detected on the port that you did your initial Blink.ino test on! You are ready to connect to the IoT Cloud.

Connecting the Arduino Nano 33 IoT board to the Arduino IoT Cloud…
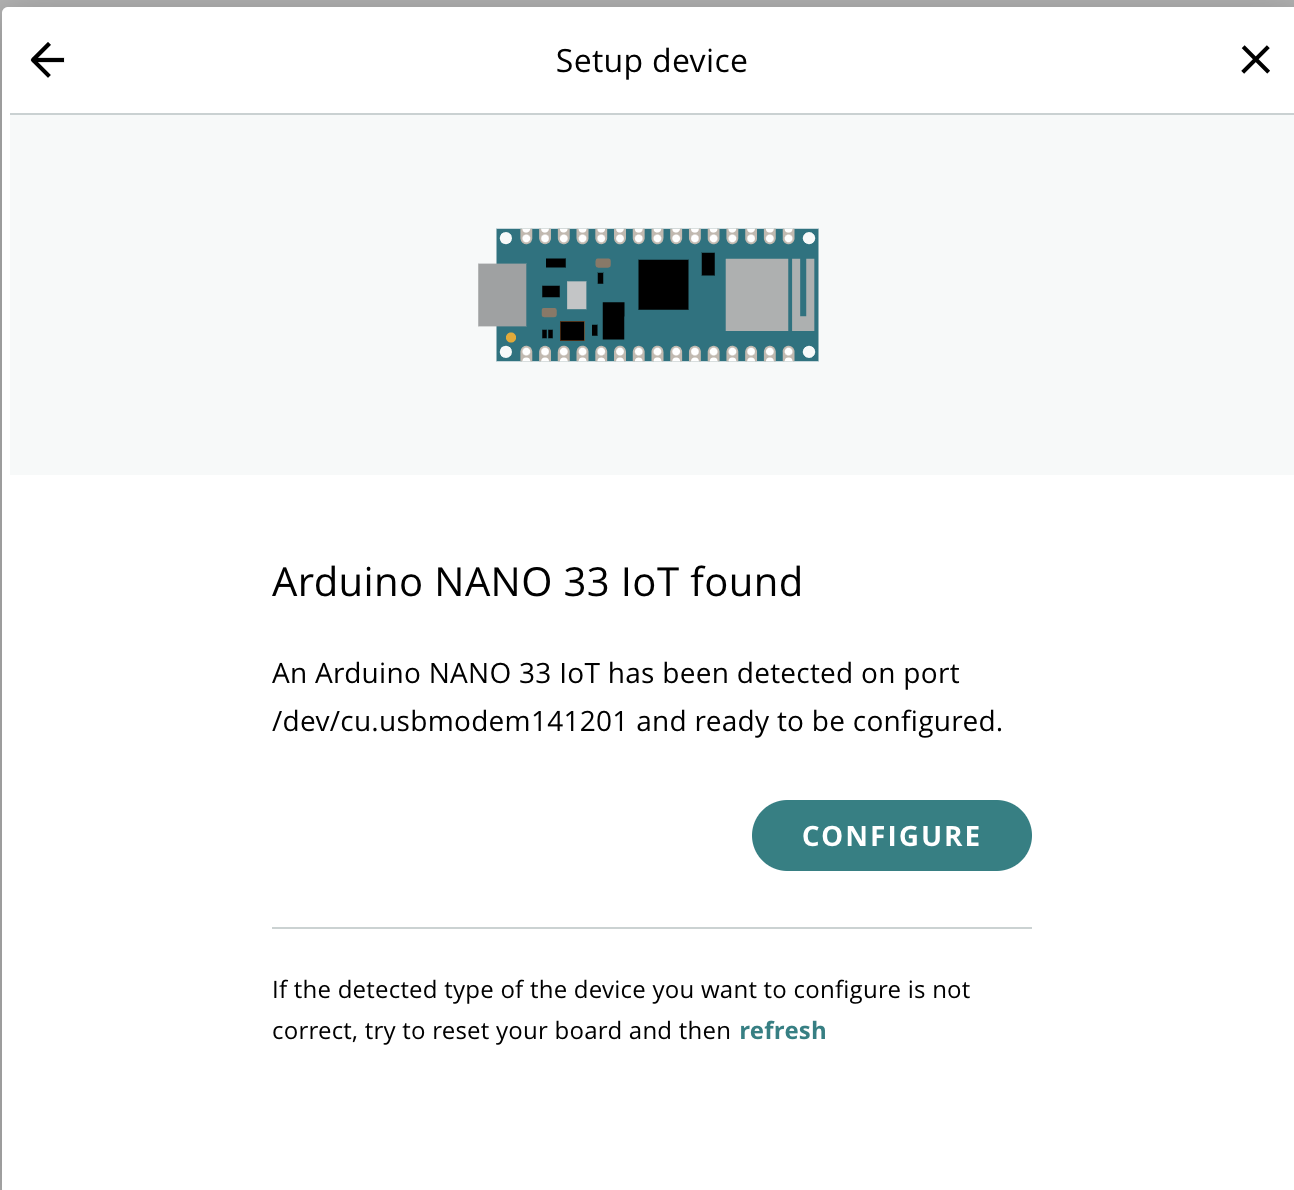
- Click on the Configure button on the Setup device panel that shows your microcontroller is detected.

- It will ask you to name your device. In this instance I will name it Rocinante after a faithful workhorse from the fictional novel: “Don Quixote”. Name your device so that you can recognize it, potentially by its use case, like Weather Station.
- At this point, let the Arduino IoT Cloud app configure your device for IoT use. This can take up to 5 minutes, but if it halts at any time, please refer to the troubleshooting section, or check to make sure your ArduinoCreateAgent didn’t spontaneously close.
- If all goes well, you will get a message like this:
- Now you should see a device has been added. It may not be connected, aka, it displays the status Offline.


Troubleshooting: Offline status for Arduino Nano 33 IoT:
- Navigate back to the Things tab and delete any ‘Things’ that are currently in this tab.
- Starting over fresh, we will click on Create Thing.
- Your view at this point is of a blank ‘Thing’. Add properties to create the initial code file that is required to install to connect the Arduino Nano 33 IoT board to your internet Network through Wifi.
- On the Right Side, click the blue chain icon under Devices:
- You will now see your device is ready! Click on the Associate button:
- You will now have to add a Variable. Think about what you want to use your device to do? Does it have sensors? Name them as variables using programming language conventions where they can’t start with a number, and they should be all lowercase, or formatted in camelCase.
- Here, I’ve created a variable called temp to represent the data value that is read from a DHT 11 temperature and humidity sensor. I should create a separate variable for the humidity sensor, as this sensor can monitor both in separate variables.
- Go ahead and add all the variables that you will use in your project.
- Once you are done, you will see your variables listed.
- Notice that after adding variables, you can now add your network credentials!
- Click on the blue chain button under Network on the right side of the window.
- Enter into the Wi-fi Name and password fields the credentials for your network.


Please Note: The MRSecure network views the Arduino Nano 33 IoT as a malicious device, possibly because it is asking the network to send incoming network traffic. The MRSecure network is configured by ITS to block these devices, and so you will have to use a Wifi Hotspot as a device loaned from the MRULibrary, or the Wifi Hostpot available on a cellphone with a data allowance (20GB per month data etc.) on the phone plan.

- If you enter the password wrong for the Network, you will not be able to connect, but troubleshooting this issue can be somewhat problematic as the board will fail to connect but you won’t get an error message.
- Double check you password by clicking on the eye view icon before you save. You can always return here to double check if you suspect later it may be incorrect.
- You will now see, under the Sketch tab, there is a notification to changes icon with an number in a red bubble! This is great, you are ready to install the code and connect to the IoT Cloud!

Please Note: Name your file by clicking on the Untitled text, and naming it a meaningful name, possibly a description of its use case.
How to edit and install your Sketch:
- Click on the Sketch tab and you will get a view of the code that will be installed onto your board.

- Some background information, when you create a Thing through the exact process in the previous steps, the Arduino IoT Cloud automatically generates the code for your project. What this does not do, is import libraries and create the code for your electronics, modules or any other components you have connected to your board. You will have to write the code for your project by modifying the file, but it does write the code for the IoT connection.

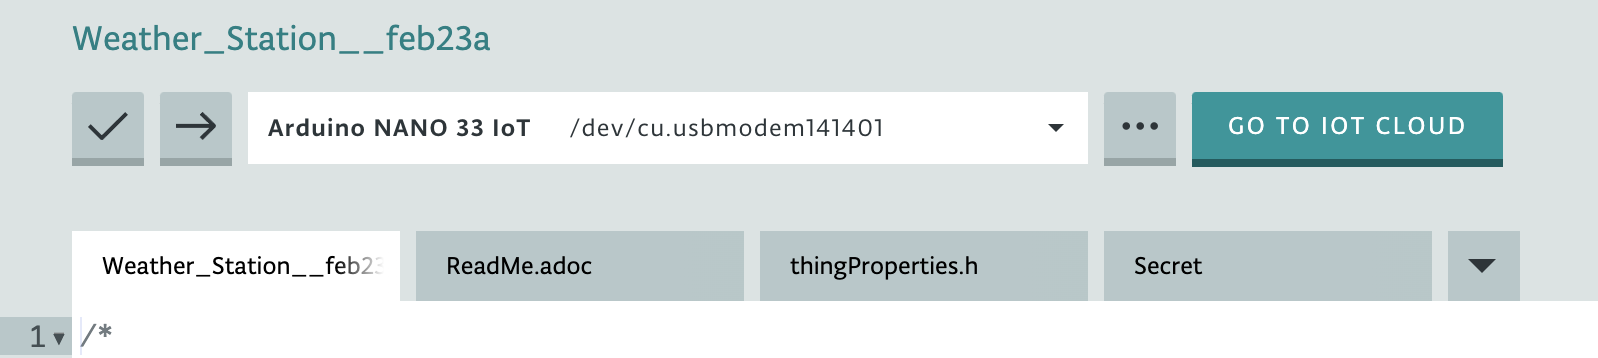
- Click on the </> Open full editor button to get to the web editor.
- This will open a new tab and the web editor will appear like this:

- You will now have to add the code that you have to run the electrical circuits, programming logic and add the libraries for any modules you are using to the code.
- Once you have done this, click the Check button to verify your code, and then if the debugger returns no errors in the console window, click on the forward arrow button to upload your board. Stand by and wait for the code to install onto your board.
- Once you have uploaded the code to your board, you will see this message in your console window:
- You have now installed the code that will create the wifi connection of your Arduino nano 33 IoT to the Arduino IoT Cloud.

Check for connectivity:
- Navigate to the Things tab.
- You should now see your device is connected to the IoT Cloud in the Device window, with the Status: Online
- If you do not see this yet, refresh your browser URL a few times, waiting for the Arduino IoT Cloud to establish a connection to the board. This can happen, and will often take a few browser refreshes.
- If you can not connect, refer back to some of the troubleshooting steps within this guide.
- You are now ready to add widgets to your Dashboard to control the Arduino Nano 33 IoT system you have made, and monitor your variables as they change, over the internet.

Creating a Dashboard with Widgets for your Ardunino Nano 33 IoT board:
- Navigate to the Dashboard tab from the Arduino IoT Cloud

- Click on the Build Dashboard button.
- Name your dashboard with a meaningful name:

- Click on the Add button, and a drop down menu will appear.

- If you scroll within this drop down menu, you can find all kinds of Widgets that will allow for various interactivity with your arduino and sensor system, or monitors for the various incoming data stored in the variables you made earlier.
- For this example, choose the Gauge or Percentage widget:

- I selected Gauge in this case. You will now see the Link Variable button:

- Click on the Link Variable button, and indicate the variable you would like to track or access in the next window that pops up:

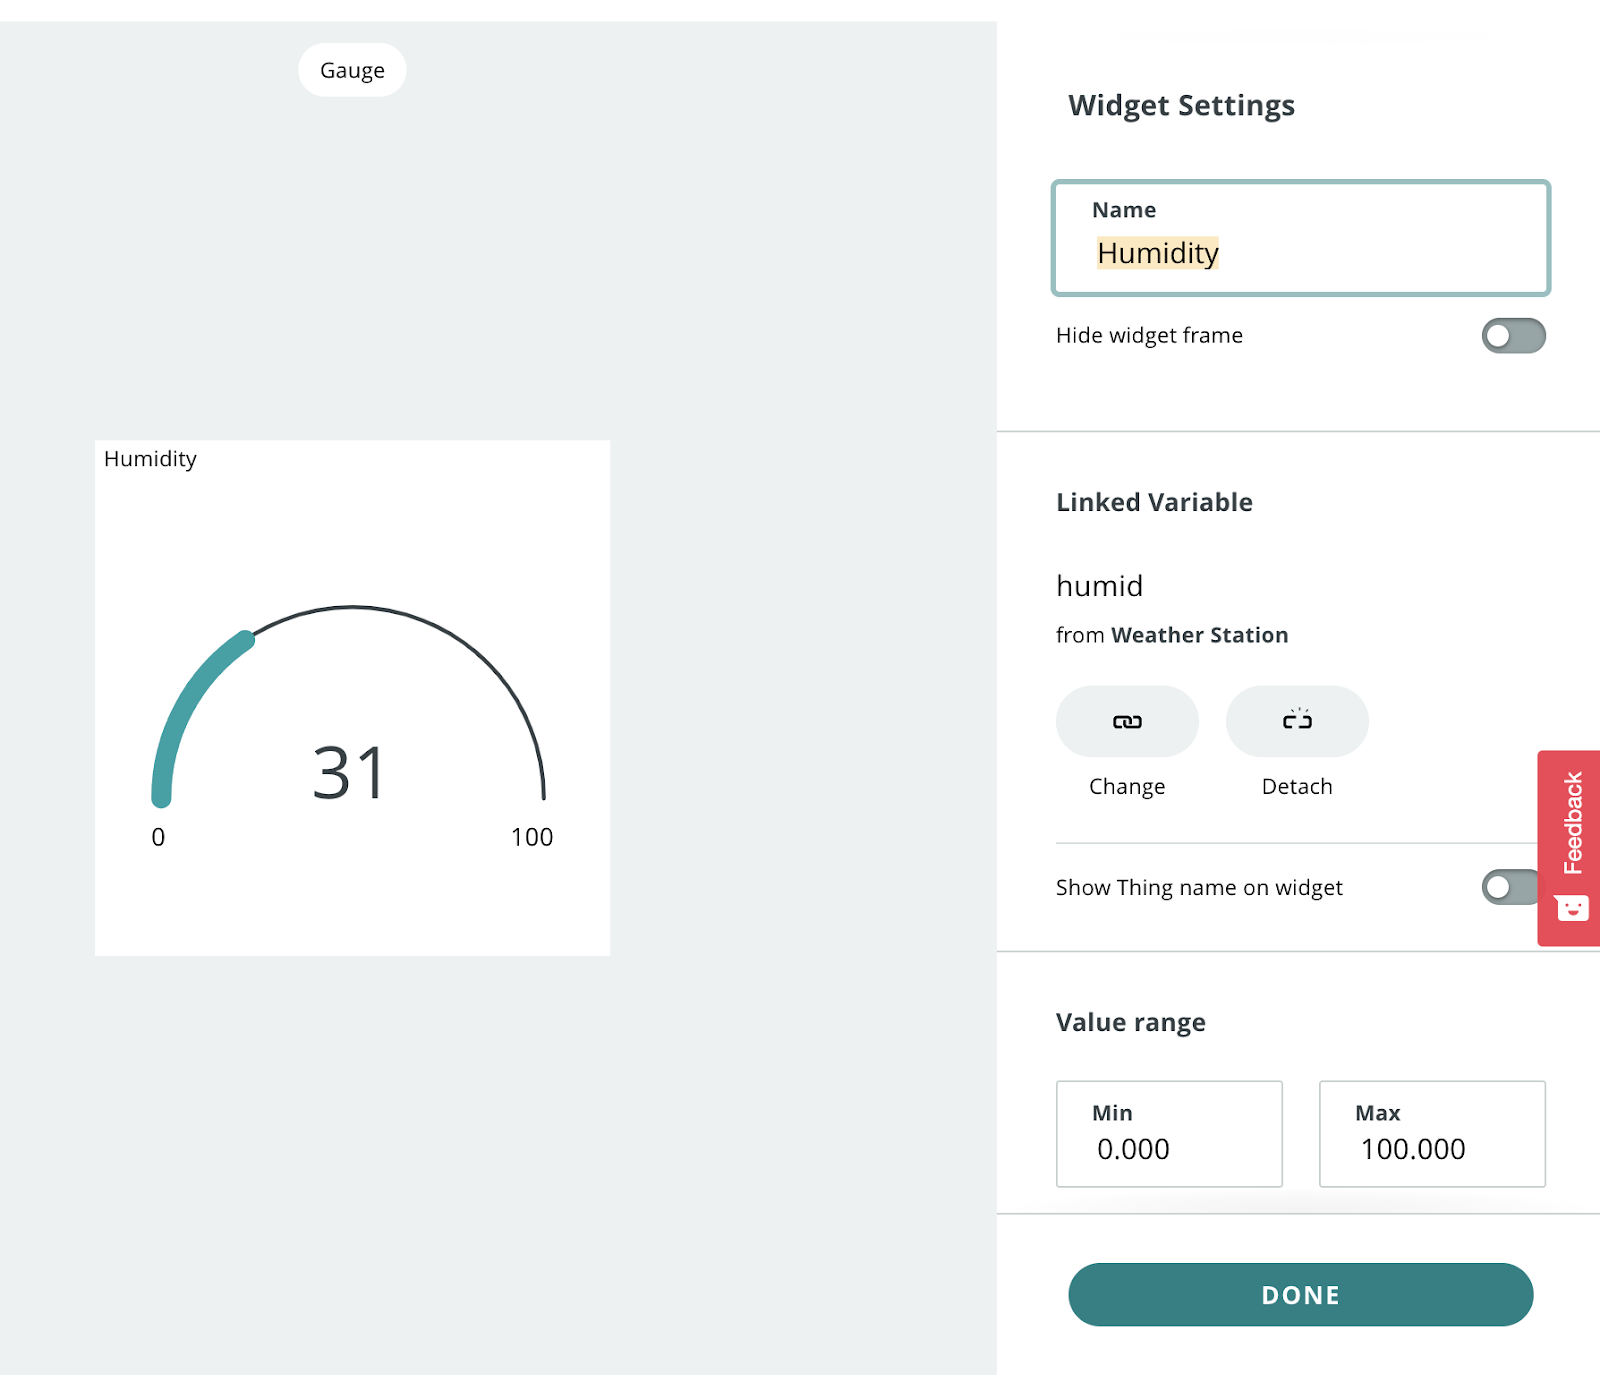
- For this display, I have selected the humid variable as humidity is displayed from the DHT 11 sensor as a percentage. Then, click the Link Variable button.

- You will now see a view of the linked variable, and what that variable is containing, in this case, the data from the DHT 11 sensor as a reading of the humidity in the room. You can name your Widget something meaningful, in this case Humidity. Click done once you have named your Widget.
- You will now see your widget is connected to the IoT device you made: The Arduino Nano 33 IoT

Please Note: You can try different widgets and see different views of the same data by linking the same variable to different widgets.
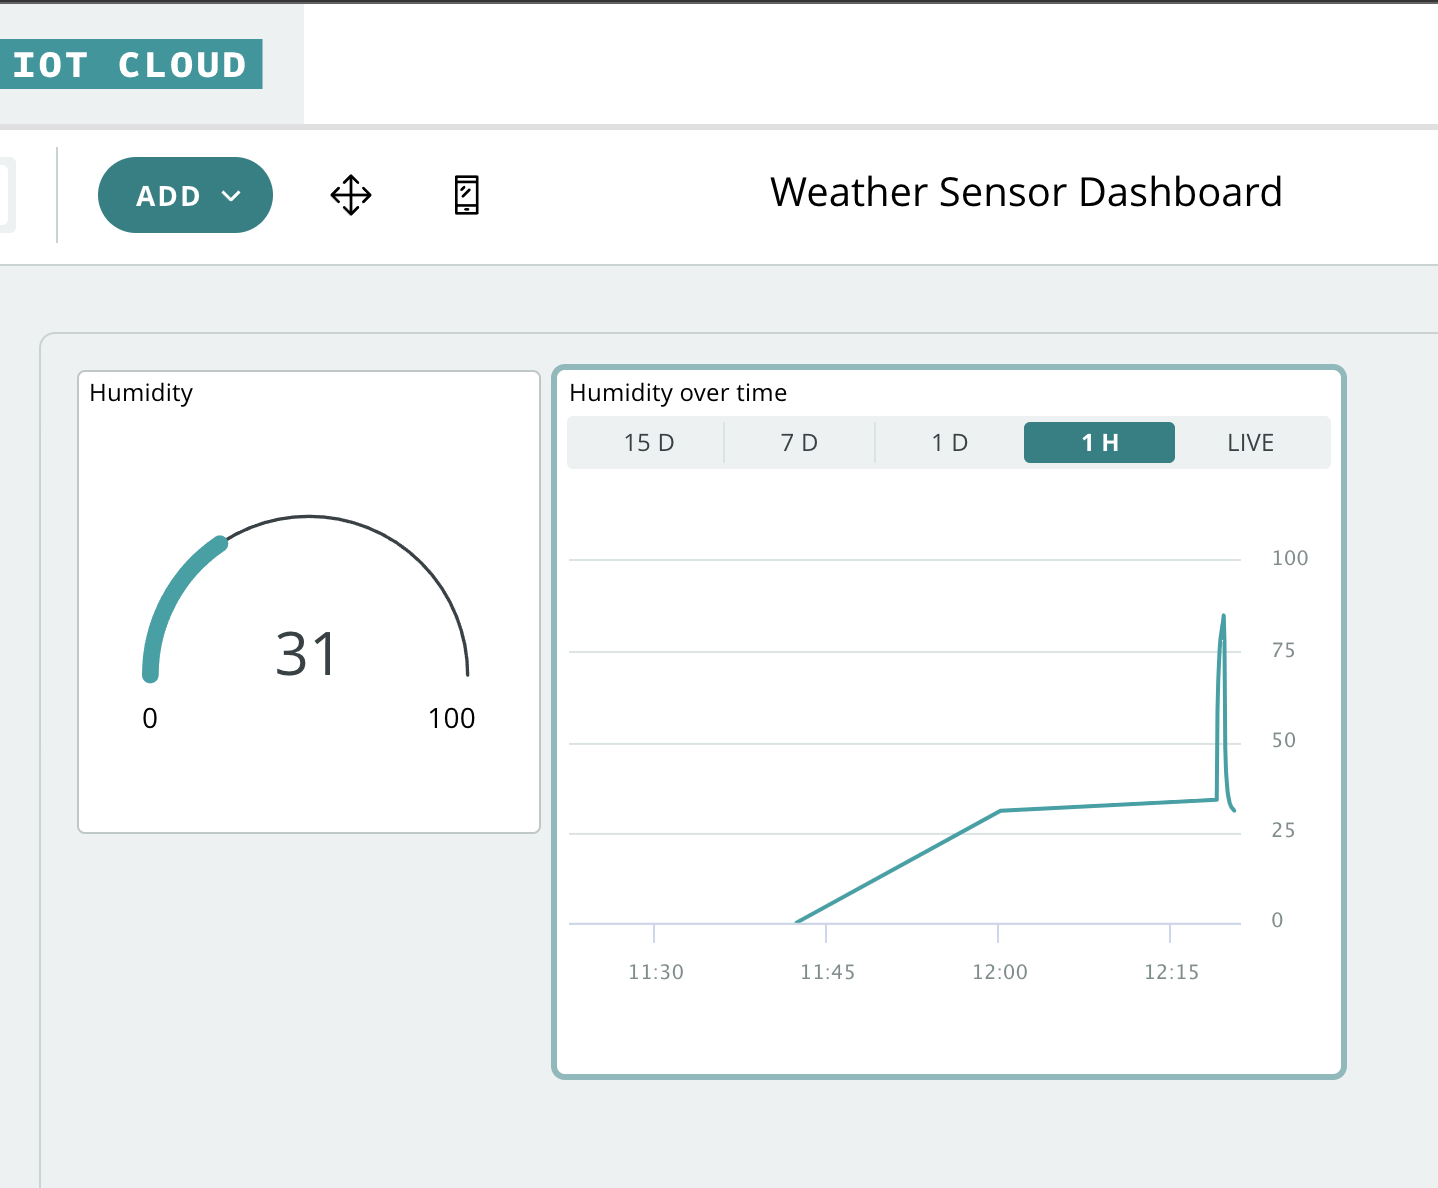
Here you can see that this Dashboard contains the reading from one variable, Humidity, but it shows the current humidity and the humidity over time!
*The spike in the data of the Humidity over time widget displays when I exhaled onto the DHT11 sensor and the humidity rose drastically!
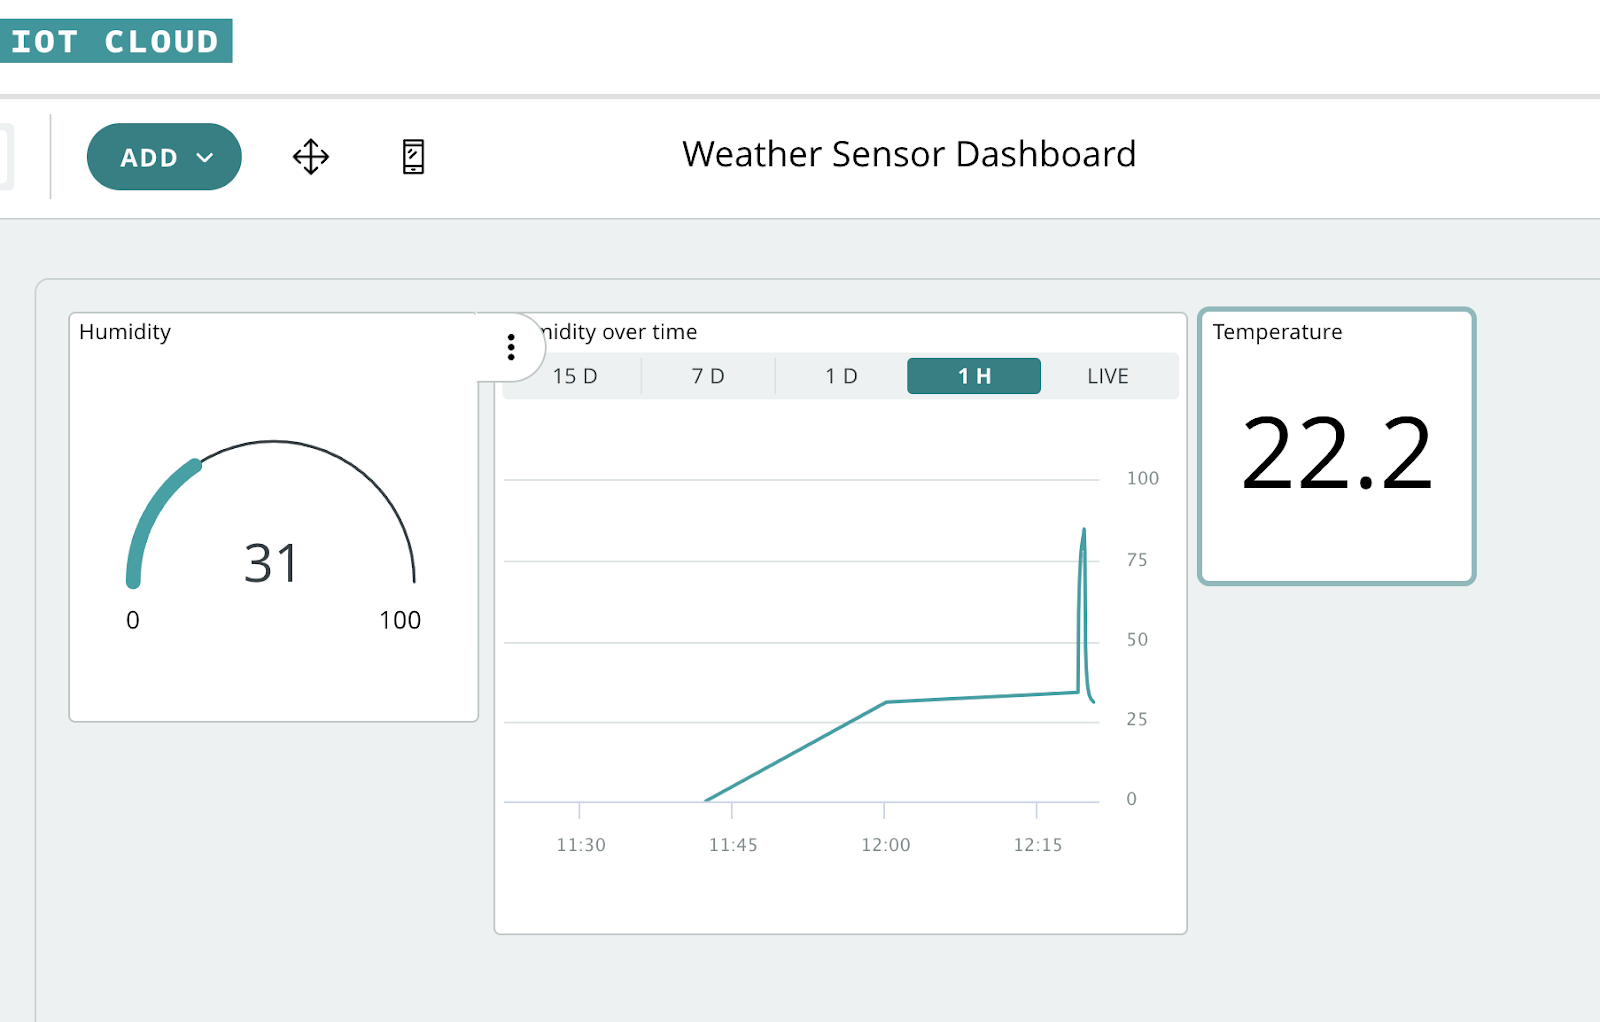
Multiple variables: To link another variable that is different and connected to separate code installed on the same Arduino IoT Nano 33 board, follow the above steps, but choose the other variables name, in this example, it was temp:

Here is the final Dashboard. You can move the Widgets around to configure a view that you like:
Now, install your device into a location and monitor your data from any device that you can log into your Arduino.Create.cc account and have a reliable internet connection.
For more information on the Arduino Pro account that allows you longer data tracking intervals ( 30 days before it’s deleted) and the ability to link multiple ‘Things’ or Iot Devices, create multiple dashboards, export the data and other interesting use cases for the Arduino IoT Cloud, view this website: https://www.arduino.cc/pro